
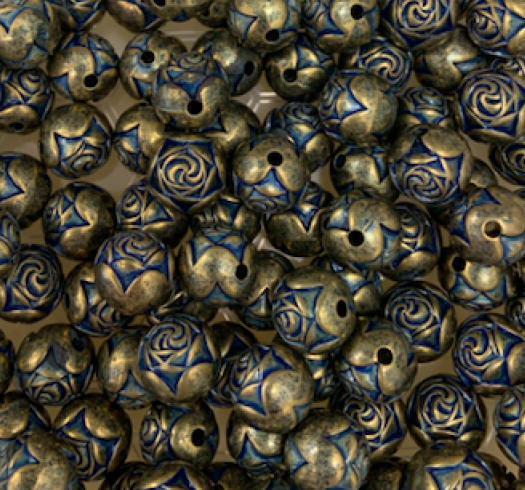

Fresh brass beads arrive with that unmistakable factory shine—bright, uniform, and utterly wrong for vintage-inspired work. For jewelry makers, leatherworkers, and paracord craftspeople, this new-penny gleam undermines authenticity before you’ve even started assembly. Patination solves this by chemically aging brass in minutes rather than decades, giving you complete control over the final appearance.
More about paracord beads:
What Actually Happens During Patination?
Patination is controlled oxidation. When brass (copper + zinc alloy) contacts oxidizing agents, copper compounds form on the surface, creating permanent color changes from warm bronze to deep black. Unlike paint, this isn’t a coating—it’s a chemical transformation of the metal’s surface layer. The copper oxidizes first, zinc follows more slowly, creating the characteristic mottled depth that distinguishes real patina from fake aging attempts.
The process mirrors natural tarnishing but compressed from years into minutes. You’re not simulating age; you’re genuinely aging the metal through accelerated chemistry.

How to Patinate Brass Beads: Step-by-Step Chemical Aging Process for Vintage Finish
Essential Materials: What You Actually Need
Gather these before starting: brass beads (obviously), chemical agents (liver of sulfur, household ammonia, or white vinegar with salt), glass or plastic containers, nitrile gloves, safety glasses, and proper ventilation. For finishing: 0000-grade steel wool, soft cloths, and sealant (Renaissance Wax or matte lacquer).
Work outdoors or near an open window with active airflow. Liver of sulfur and ammonia produce irritating fumes that can trigger respiratory issues. Keep baking soda nearby—it neutralizes chemical spills instantly.
The non-negotiable safety rule: Never mix chemicals. Use one method per session, rinse thoroughly between experiments.
Liver of Sulfur Method: The Speed Technique
Liver of sulfur (potassium sulfide) delivers dramatic results in under two minutes.
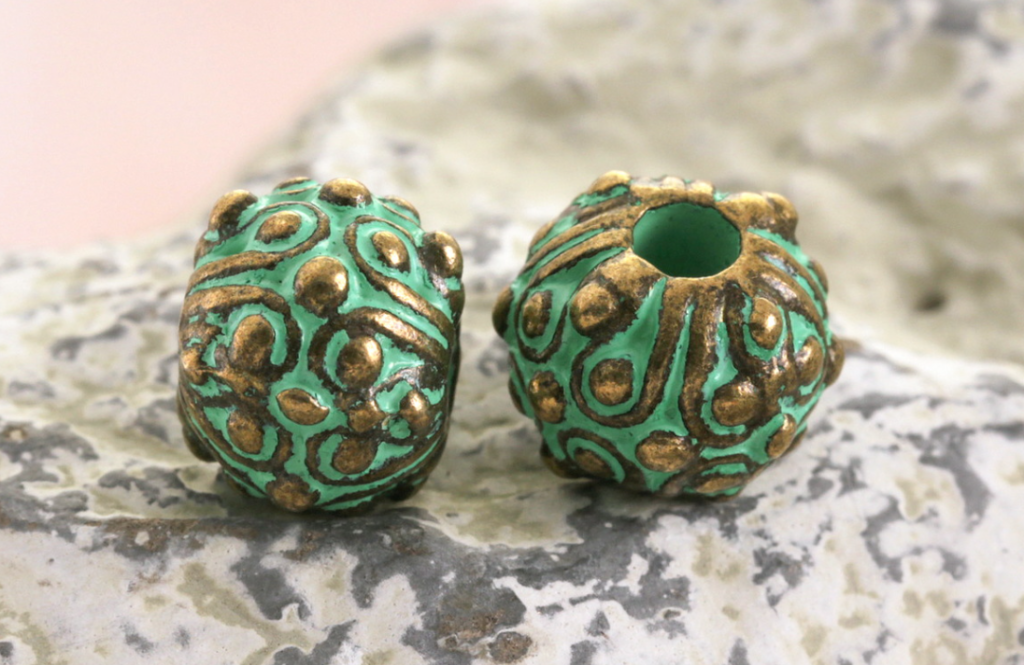
Dissolve a pea-sized chunk in one cup of hot—not boiling—water in a glass container. The solution turns yellow and smells like rotten eggs (that’s normal). Drop brass beads into the solution using tweezers. Watch the color progression: golden-bronze appears in 15 seconds, rose-copper at 30 seconds, purple-blue at 45 seconds, and black by 60 seconds. Pull beads at your target color and rinse immediately under cold water to stop the reaction.
Temperature is your control dial. Hotter water (140-160°F) accelerates patination but reduces control. Cooler water (100-120°F) slows the process, letting you catch intermediate colors more reliably. The purple-blue stage looks stunning but remains unstable—it continues darkening unless sealed within hours.
“Beginners always go too dark, then struggle to recover highlights. Stop one full shade lighter than your target. You can always dip again, but reversing requires aggressive polishing that destroys surface detail.”
Ammonia Patina: Can You Age Brass Without Harsh Chemicals?
DIY Brass Bead Patination Guide – Transform Shiny Brass into Aged Antique Beads
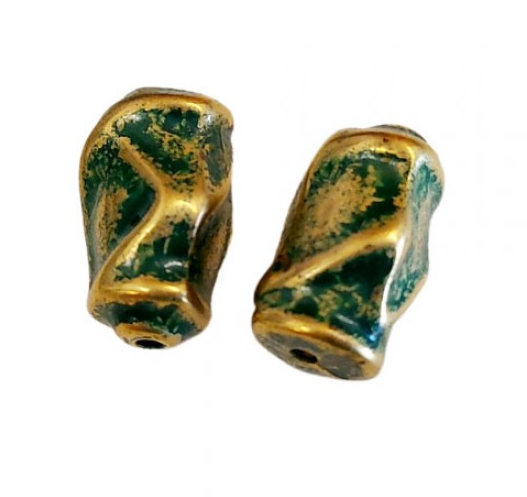
Yes—ammonia vapor creates subtle, controllable patina with blue-green undertones.
Pour half an inch of clear household ammonia into a shallow dish inside a sealable plastic container. Suspend brass beads above the liquid using wire or mesh—they must not touch the ammonia. Seal completely. Vapor slowly oxidizes the brass over 4-24 hours, creating authentic verdigris that mimics archaeological finds.
Check progress every 4-6 hours by briefly opening the container. This method excels for steampunk and ancient-inspired designs where subtle green-blue tones enhance the narrative. Adding a damp paper towel (not touching beads) increases humidity and accelerates the process by roughly 30%.
The tradeoff: Ammonia vapor requires patience but delivers the most natural-looking results with minimal risk of over-patination.
The Kitchen Chemistry Alternative: Vinegar and Salt
This accessible method uses pantry staples but demands time.
Mix equal parts white vinegar and table salt in a glass container until salt partially dissolves. Submerge brass beads completely. Unlike the liver of sulfur’s instant transformation, this takes 2-8 hours to produce noticeable darkening. The acetic acid etches brass while salt accelerates oxidation, creating warm antique brown to mottled dark bronze tones.
For faster results, heat the solution to 120-140°F before adding beads. Warm acid works 40-50% faster but produces less predictable patterns—acceptable for rustic designs where uniformity isn’t critical.
This method creates the most organic-looking patina with natural variations across each bead’s surface. Randomness becomes a feature, not a bug.
How to Control Patina Patterns on Brass
Achieving specific effects requires manipulation beyond basic immersion.
- Selective patination: Apply petroleum jelly or painter’s tape to areas you want to keep bright before treatment. Remove after patination for two-tone effects.
- Gradient patination: Partially immerse beads, then gradually lower them deeper for ombre transitions.
- Resist techniques: Paint wax or rubber cement in patterns, patinate, then remove the resist to reveal designs.
For naturally mottled appearance, skip the pre-cleaning. Fingerprints and oils create organic resist patterns. Conversely, degreasing with acetone before treatment yields uniform, even patina. Both approaches are valid—choose based on your design intent.
Comparing Patination Methods: Which Fits Your Project?
| Method | Time Required | Color Range | Control Level | Cost | Best Application |
| Liver of Sulfur | 30 sec – 5 min | Golden to black | Medium | 12-15 | Dramatic, uniform dark finishes |
| Ammonia Vapor | 4-24 hours | Blue-green verdigris | High | 3-5 | Subtle, archaeological effects |
| Vinegar-Salt | 2-8 hours | Brown to bronze | Low | 2-3 | Organic, rustic appearance |
| Commercial Solutions | 1-10 min | Product-specific | High | 18-30 | Consistent, repeatable results |
The Highlight Recovery Process: Creating Dimension
The solid dark patina looks flat and lifeless. Professional results require selective removal.
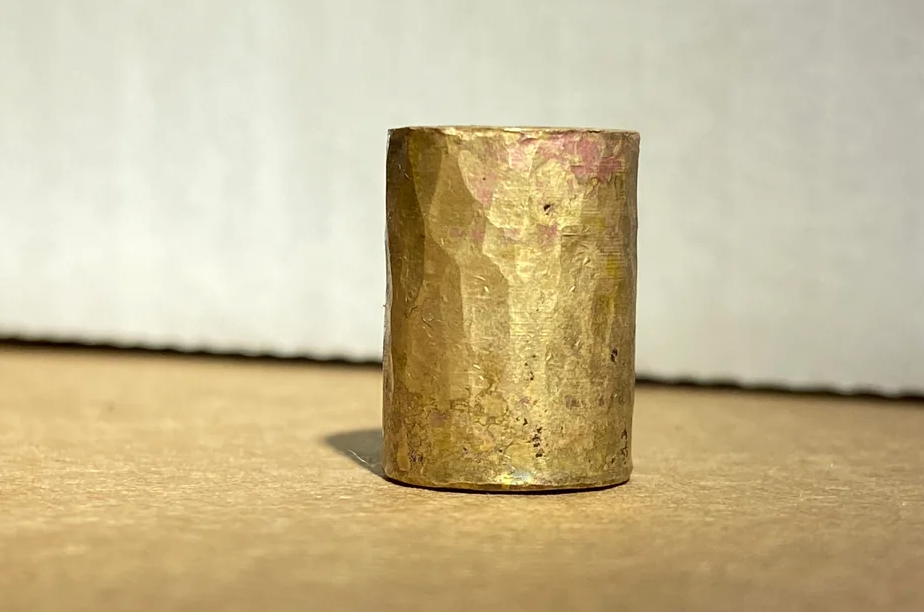
After patination and complete drying, use 0000-grade steel wool to gently buff raised surfaces and edges. This removes oxidation from high points while leaving recesses dark, creating dimensional contrast that defines quality aged brass. Work with light pressure—you’re polishing highlights, not stripping the entire surface.
For aggressive highlight recovery on textured beads, use a rotary tool with a soft buffing wheel and jeweler’s rouge. The contrast between bright highlights and dark shadows creates visual depth that mimics decades of handling.
The critical timing: Patina must be completely dry before highlighting recovery. Wet patina smears rather than polishes, creating muddy results.
What’s the Strongest Argument Against DIY Patination?
Professional Brass Patination Technique: Creating Authentic Aged Finish on Metal Beads
Commercial pre-patinated brass beads offer guaranteed consistency and eliminate labor—valid points for production craftspeople.
Manufacturers use controlled electrochemical processes producing identical results across thousands of beads, impossible to replicate in home workshops. For businesses producing 50+ identical pieces monthly, labor costs of hand-patinating often exceed the premium for pre-aged components. Some commercial patinas achieve proprietary colors (certain blue-grays) difficult to replicate with standard methods.
However, this consistency is precisely the limitation. Pre-patinated beads offer perhaps 3-5 standard finishes, while DIY patination provides infinite variations. For one-of-a-kind pieces or craftspeople whose brand centers on handmade authenticity, the time investment yields irreplaceable uniqueness. The slight variations between hand-patinated beads become signatures of genuine craftsmanship that discerning customers recognize and value.
The economic crossover point: If you’re making fewer than 40 pieces monthly, DIY patination costs less and offers superior creative control.
Evolution of Brass Aging: From Burial to Chemistry
Fifteen years ago, craftspeople seeking aged brass had two options: scavenge genuinely antique components from estate sales, or bury new brass in soil for months hoping for natural oxidation. Both were impractical—antique supplies were limited and expensive, while burial produced wildly unpredictable results dependent on soil chemistry and moisture.
The early 2000s saw experimentation with household chemicals, but without knowledge-sharing networks, craftspeople repeatedly reinvented the wheel, often dangerously. Some tried muriatic acid (too aggressive, causing pitting), others used bleach (ineffective on brass, creating toxic fumes when mixed with other chemicals).
The breakthrough came when jewelry-making communities began systematically documenting patination chemistry online. Liver of sulfur, long used by silversmiths, was adapted for brass with temperature and concentration adjustments. This democratized professional-quality patination beyond traditional metalworking guilds.
Today’s controlled chemical methods solve core problems: they’re fast (minutes versus months), predictable (repeatable results), and safe when proper precautions are followed. The modern craftsperson achieves in an afternoon what once required either years of apprenticeship or months of waiting.
Three Critical Mistakes That Destroy Brass Patina
Learn How to Patinate Brass Beads Using Liver of Sulfur and Household Chemicals
Mistake 1: Patinating without degreasing. Craftspeople dump new brass beads straight from packaging into patina solution, expecting uniform results. This seems logical—why add steps? Factory oils, handling residue, and packaging compounds create invisible resist barriers. Result: Patina develops in blotchy, uneven patches that scream amateur rather than authentically aged. The solution takes twice as long and wastes chemicals trying to penetrate contamination. Always degrease with acetone or dish soap before patination unless you specifically want random mottling.
Mistake 2: Over-neutralizing after liver of sulfur. After achieving a beautiful patina, craftspeople panic about residual chemicals and aggressively scrub beads with baking soda solution. This seems responsible—neutralize thoroughly. However, the fresh patina is fragile. Aggressive alkaline neutralization partially reverses the oxidation you just created, stripping 30-40% of patina depth. You lose color and must re-treat. Simply rinsing thoroughly under running water for 30 seconds removes sufficient residue without damaging the patina.
Mistake 3: Sealing before complete drying. Excited by perfect results, craftspeople immediately spray lacquer while beads feel slightly damp. This seems efficient—why wait? Trapped moisture under sealant continues reacting with patina compounds, creating cloudy white spots or causing patina to flake within days. You’ve permanently sealed in failure. Always allow 24 hours of air drying before sealing, or use a heat gun on low for 2-3 minutes to ensure complete moisture evaporation.
“The patina you see wet is never the patina you get dry. Brass darkens significantly during drying. Stop your chemical process when beads are one full shade lighter than your target—they’ll darken to exactly where you want them.”
Sealing and Protecting Your Aged Brass Finish
Unsealed patina continues developing, potentially darkening beyond your intended result, and transfers to skin or fabric.
Apply sealant immediately after achieving desired patina and highlight recovery. Renaissance Wax—a microcrystalline wax used by museums—provides invisible protection without altering appearance. Apply thin coats with a soft cloth, buff after 10 minutes. For more durable protection, use clear lacquer spray in matte or satin finish (gloss looks artificial on aged brass). Apply 2-3 light coats rather than one heavy coat to avoid drips.
The compromise: Wax requires periodic reapplication (every 6-12 months with regular wear) but remains invisible and reversible. Lacquer provides permanent protection but slightly dulls metal luster and cannot be removed without stripping.
The brass beads you patinate today carry the visual weight of decades. That’s the power you’ve mastered.