
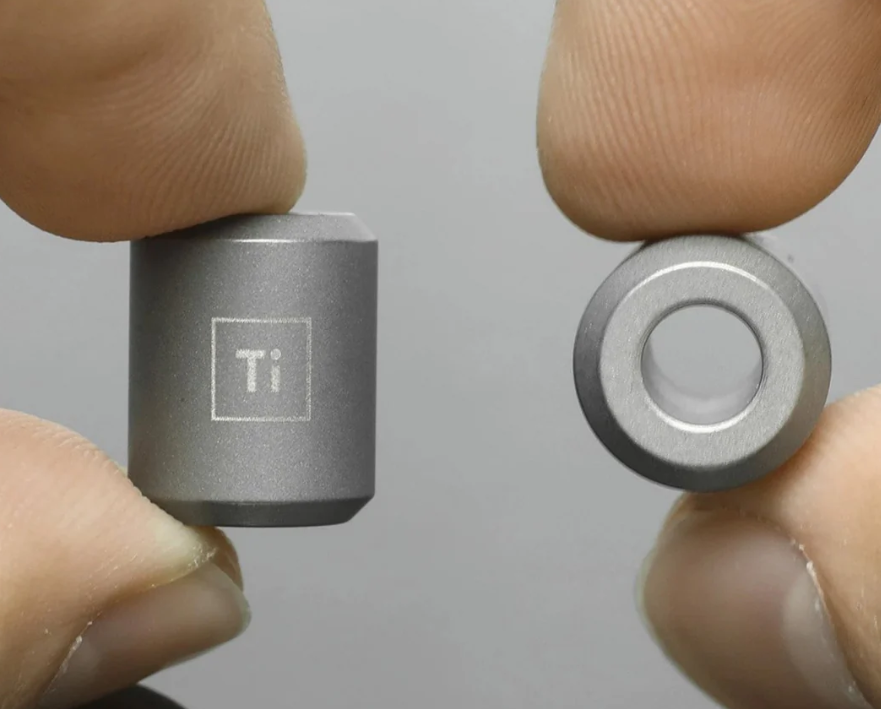

Titanium beads develop surface scratches, oxidation marks, and dull spots from regular handling. Polishing restores their original finish using progressive abrasive grits (400-3000), polishing compounds, and mechanical or hand methods. The process takes 15-45 minutes per bead.
More about paracord beads:
Why Titanium Behaves Differently Than Other Metals
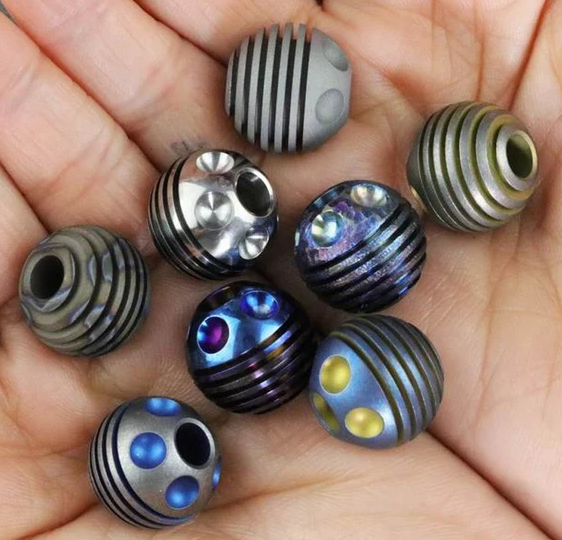
Titanium Bead Finish Comparison: Satin vs Semi-Polish vs Mirror
- Self-Healing Oxide Layer: Titanium’s protective oxide layer regenerates instantly in air. You are constantly polishing against a surface that is trying to rebuild its natural patina.
- Hardness: Titanium (6 on Mohs scale) is harder than brass or copper, requiring more aggressive initial abrasives.
- Poor Thermal Conductivity: Friction heat concentrates quickly. Overheating (above 400°F) creates permanent golden-to-blue discoloration that is nearly impossible to remove.
What You Actually Need for Polishing Titanium Beads
- Wet/Dry Sandpaper: 400, 600, 800, 1000, 1500, 2000, 3000 grit (Every grit step matters)
- Polishing Compounds: White rouge (cutting), green rouge (finishing)
- Rotary tool with felt bobs or cotton wheels (Optional, for speed)
- Dish soap and microfiber cloths
- Wooden dowels or toothpicks (for holding the bead)
- Safety glasses
“Most people skip 1500 grit and jump from 1000 to 2000. That gap creates micro-scratches you’ll chase for hours. Missing one means you’re polishing scratches, not removing them.”
The Three Finish Types You Can Achieve
Choose the finish based on the bead’s intended use, not just aesthetics.
| Finish Type | Final Grit | Time Per Bead | Best For | Maintenance |
| Satin/Brushed | 400-600 | 10-15 min | EDC gear, tactical look | Low – hides scratches |
| Semi-Polish | 1000-1500 | 20-30 min | Paracord bracelets, lanyards | Medium – shows some wear |
| Mirror | 2000-3000 + compound | 35-45 min | Jewelry, display pieces | High – every mark visible |
Step-by-Step: Hand Polishing Method
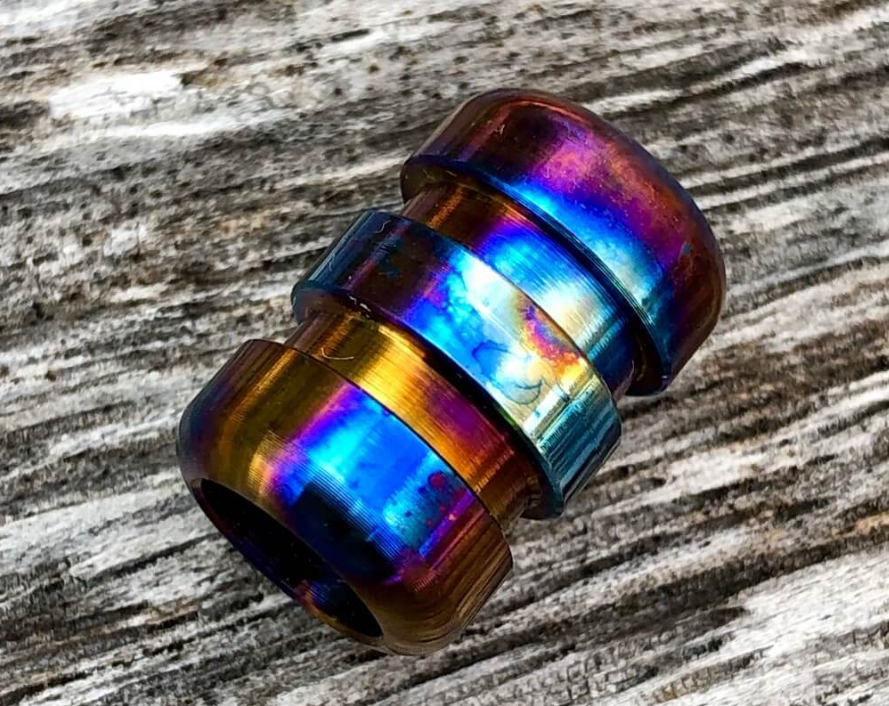
How to Polish Titanium Beads: Wet Sanding Technique with Progressive Grits
This method offers maximum control and works for all bead sizes.
Preparation
- Wash thoroughly with dish soap to eliminate oils and dirt, which can embed into the titanium during sanding.
- Mount the bead on a wooden dowel for a handle.
The Progressive Grit Sequence
- Start Grit: Use 400 grit for deep scratches, or 800 grit for smooth surfaces.
- Lubrication: Wet the sandpaper and the bead. Water prevents heat buildup and acts as a lubricant.
- Motion: Work in a circular motion with moderate pressure, constantly rotating the bead.
- Advance Grit: Polish for 2-3 minutes per grit. Rinse frequently. Advance only when the previous grit’s deeper scratches are completely replaced by the current grit’s shallower marks.
- Sequence: Move through each step: 400 → 600 → 800 → 1000 → 1500 → 2000 → 3000.
Compound Finishing
- White Rouge (Cutting): Apply white rouge to a cotton cloth and buff with firm, rapid strokes. This removes microscopic imperfections.
- Green Rouge (Finishing): Switch to green rouge for the final stage to achieve a mirror shine.
- Final Clean: Clean thoroughly with soap and water to remove all residue.
How to Polish Titanium Beads with Rotary Tools
Power tools save time but increase the risk of heat damage.
- Speed: Set the rotary tool to 3000-5000 RPM maximum to avoid excessive heat.
- Motion: Keep the bead moving constantly. Work in short 5-10 second bursts with cooling breaks.
- Tools: Use felt bobs for compound application and cotton wheels for final buffing. Avoid aggressive wire wheels.
The Three Mistakes That Ruin Your Finish
| Mistake | Consequence | Prevention |
| 1. Skipping Surface Cleaning | Oils and residue embed into the titanium, creating dark, permanent streaks that require aggressive removal. | Always wash the bead thoroughly before sanding. |
| 2. Applying Too Much Pressure | Generates excessive friction heat, causing permanent rainbow-colored oxidation (temper colors). | Apply only moderate pressure (like writing with a pencil). |
| 3. Dry Sanding Titanium | Causes rapid work-hardening of the surface layer and clogs sandpaper, resulting in a hazy, uneven finish. | Always use water as a lubricant during sanding (Wet Sanding). |
Maintaining Your Polished Titanium Beads
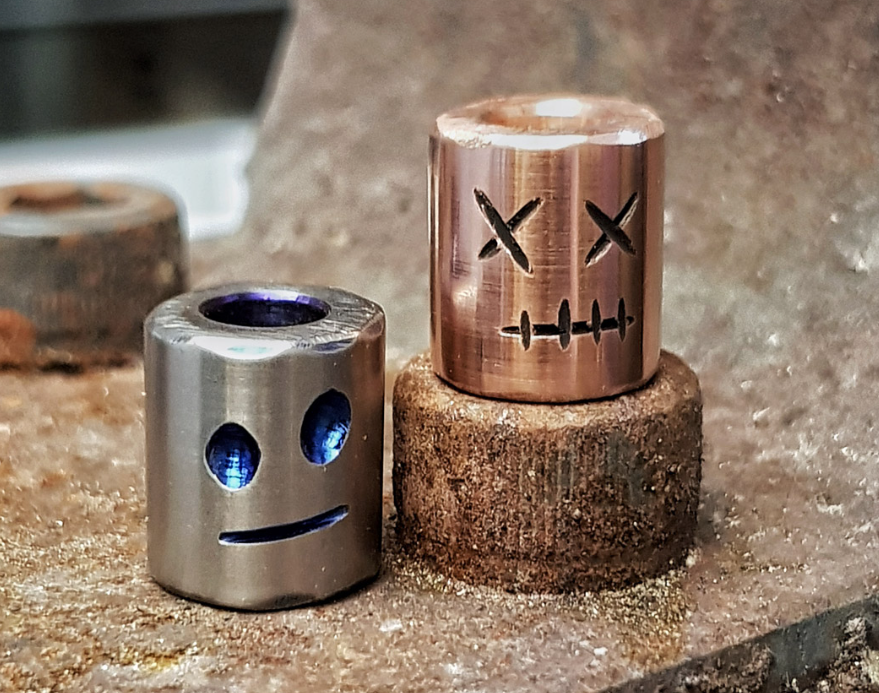
Essential Tools for Polishing Titanium Beads: Sandpaper, Rouge, and Finishing Materials
- Mirror-polished surfaces show every scratch and fingerprint. Handle with clean hands or gloves.
- Store beads separately in soft pouches.
- For daily-carry items, the titanium oxide layer will naturally thicken and darken (patina). Accept this as the metal’s natural aging process.
- To re-polish lightly scratched beads, start at 1500 grit.
“If you’re making EDC gear that’ll live on a keychain, stop at 1500 grit. A semi-polish holds up far better than a mirror finish, which shows everything.”
When Polishing Isn’t the Answer
Some deep defects, such as gouges exceeding 0.2 mm or manufacturing flaws like porosity, cannot be polished out without compromising the bead’s structural integrity or dimensions. In these cases, replacement is necessary.