
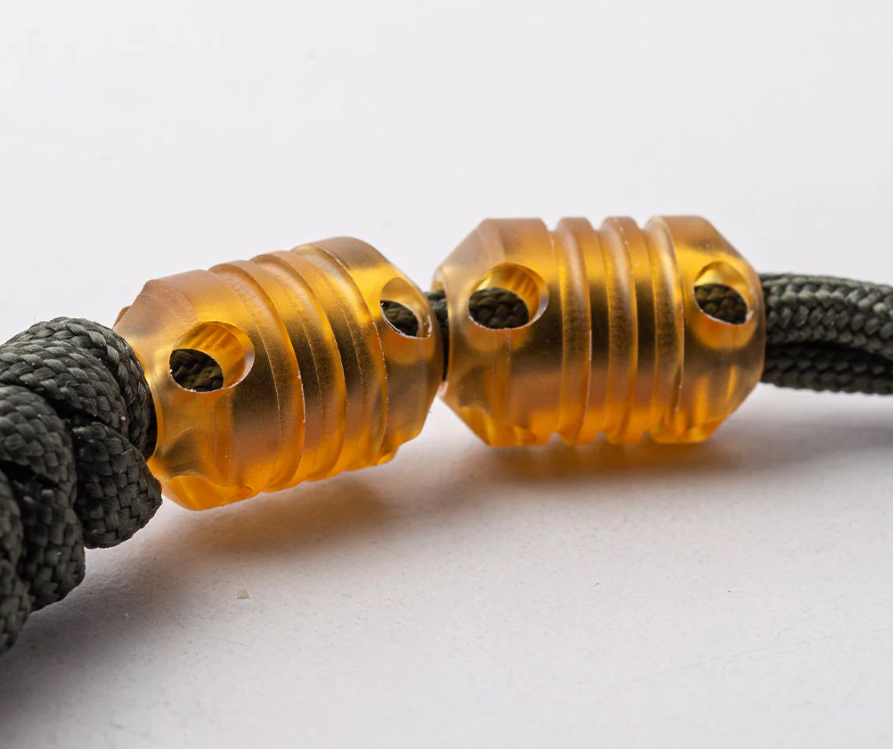

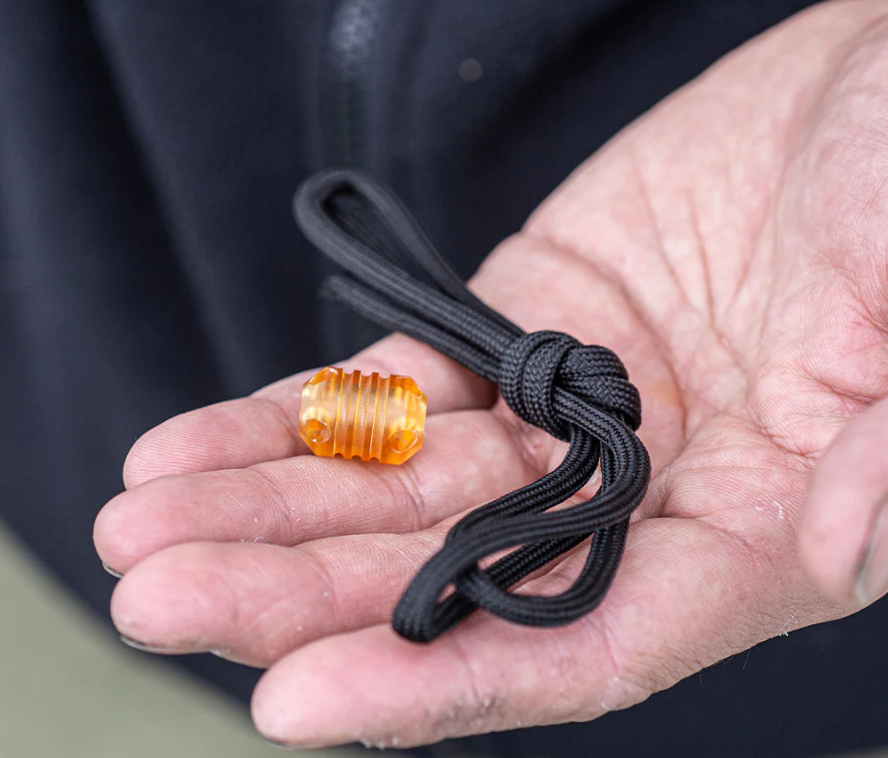
Polymer paracord beads give you bright colors and light weight without scratching your gear. They slide onto 550 cord to personalize survival bracelets, lanyards, and knife pulls while keeping your project under two ounces.
More about paracord beads:
What Makes Polymer Beads Different from Metal?
Polymer paracord beads weigh almost nothing compared to brass or bronze. A printed polymer bead won’t droop on a lightweight folder the way a brass slug would. For a paracord bracelet you wear all day, three plastic beads feel lighter than a single metal one.
Explore Polymer Paracord Beads for Your DIY Projects
The color range beats metal by miles. Neon greens, pearl whites, and glow-in-the-dark options give you design freedom metal can’t match. Standard brass develops a patina over time. Polymer keeps its factory color for years.
Here’s the compromise: polymers hate heat. Leave a bead on a hot car dashboard and it might warp. Metal shrugs off 150°F without flinching.
| Material | Weight (12mm bead) | Heat Tolerance | Color Options | Price |
| Polymer | 2g | Up to 140°F | 50+ colors | $0.10-$5 |
| Brass | 8g | 400°F+ | 3-5 patinas | $3-$8 |
| Titanium | 4g | 800°F+ | Anodized only | $20-$60 |
How Are Polymer Paracord Beads Made?
Most polymer beads start as liquid resin in a 3D printer. A UV laser cures the resin layer by layer—each pass just 50 microns thick. After printing, the bead gets an alcohol bath, then goes under UV light for final hardening.
The bore hole (the tunnel through the middle) matters most. If that hole isn’t smooth, it will fray your 550 paracord in days. Quality makers hand-ream each hole after printing, then polish it until a test cord slides through without resistance.
Traditional injection molding works for bulk production. Heated polymer pellets get forced into a two-part mold under pressure. Injection-molded beads cost less but offer fewer design options than 3D printing.
Sizing: Choosing the Right Bore for Your Cord
Standard 550 paracord measures about 4mm when the inner strands relax. You need a bore between 4.5mm and 5mm for smooth movement without rattling.
Why Choose Polymer Paracord Beads for Durability and Style
Test before you commit. Thread your actual paracord through the bead. It should slide with light finger pressure but stay put when you shake it. Too tight and you’ll fray the cord within a week. Too loose and the bead rattles around like a BB in a tin can.
The Three Mistakes That Ruin Polymer Beads
Storing them in direct sunlight
People leave project boxes on windowsills because the light makes it easy to see colors. UV radiation breaks down polymer molecular chains. After six months of sun exposure, beads turn brittle and crack when you try to thread them. The loss: beads that cost $2-5 each become unusable trash, and your half-finished bracelet project sits incomplete because you can’t match the faded colors.
Using them on high-heat gear
Campers attach plastic beads to zipper pulls on tents, then lean the tent against a fire ring to dry. Polymers start softening around 140°F. The bead warps into an oval, binds on the cord, and won’t slide. The loss: what started as a $3 decorative touch now requires cutting the zipper pull and re-threading everything.
Over-tightening during installation
Beginners pull the paracord tight after threading beads, thinking tension prevents slipping. Constant pressure creates stress points where the cord enters and exits the bead. Within two weeks of normal use, the cord frays at those exact spots. The loss: your bracelet that should last 2-3 years develops weak points in under a month.
Practical Installation: The Heat-Seal Method
Thread the bead onto your paracord at the desired position. Tie a simple overhand knot on each side of the bead, positioned 2-3mm away. Use a lighter to carefully melt the knot ends—the melted nylon fuses and creates a stopper that prevents the bead from sliding past.
Key detail: don’t let the flame touch the polymer bead itself. Even a one-second touch from a lighter can create a cloudy spot or slight warp. Keep the flame at least 10mm away from the bead. According to paracord safety guidelines from Paracord Weavers, holding cord at a safe distance from flame prevents burns and material damage.
Alternative: Use small crimp beads made from soft copper or aluminum. These squeeze onto the cord with pliers and hold position without heat.
How We Got Here: The Evolution Path
Fifteen years ago, paracord accessories meant metal or nothing. Soldiers and climbers used brass ferrules or hand-carved bone toggles because those materials survived field conditions. The process was expensive—lost-wax casting for custom designs could cost $50-80 per bead.
During the 2010s, makers experimented with injection-molded plastics. Early versions used standard ABS, which cracked under stress and yellowed within months. Some tried acrylic, but it was too brittle for active use.
The breakthrough came when photopolymer resin 3D printing reached consumer affordability around 2015. Suddenly, you could print a custom skull design in four hours for $2 in materials. This democratized custom bead production for DIY enthusiasts.
Glow-in-the-Dark: Why They Actually Work
Glow-in-the-dark polymer beads contain photo-luminescent compounds that absorb UV and visible light, then emit it slowly. The glow lasts 4-6 hours at visible levels after two minutes in sunlight.
The mechanism: strontium aluminate crystals suspended in the polymer matrix. When light hits these crystals, electrons jump to higher energy states. As they drop back down, they release photons in the green-yellow spectrum—the color human eyes detect most easily in darkness.
For practical use, charge your glow beads under direct sunlight or a bright LED for 3-5 minutes before heading into darkness.
Real-World Project: Upgrading a Basic Bracelet

Enhance Your Paracord Creations with Polymer Beads
Sarah builds paracord bracelets for her hiking group. Her original design used only a cobra weave with a plastic buckle—functional but plain. Adding three small polymer skull beads (12mm, 5mm bore, glow-in-the-dark green) transformed the look.
She spaced them evenly along the 8-inch bracelet length. The beads added 6 grams total—barely noticeable on the wrist. At night around the campfire, the beads glowed enough to spot the bracelet in a dark tent.
Result: The hiking group ordered 15 more survival bracelets with custom color combinations. The polymer beads added $4 in material cost but increased the perceived value enough to charge $8 more per bracelet.
When Polymer Paracord Beads Make Sense
Choose polymer beads for paracord when:
- Total project weight matters (ultralight backpacking gear)
- You need specific colors that metal can’t provide
- The gear touches finished surfaces (knife with polished bolsters)
- Users might have metal sensitivities
Skip polymer and use metal when:
- The item faces temperature extremes regularly
- You need maximum impact resistance (hard-use climbing gear)
- Weight isn’t a factor and you want bombproof reliability
Maintenance: Making Polymer Beads Last
Clean polymer beads with warm water and mild dish soap. Scrub with a soft toothbrush to reach textured surfaces. Never use acetone, rubbing alcohol over 70%, or citrus-based cleaners—these can cloud or soften the polymer.
Store finished projects away from direct sunlight. A drawer or closet works perfectly. If you must display items in lighted areas, UV-protective cases block the damaging wavelengths.
Inspect beads every 3-6 months for signs of stress: hairline cracks, cloudiness, or rough spots in the bore. Replace any questionable beads immediately.
“Never trust a polymer bead on gear that gets stored in vehicles. Temperature swings from below freezing to 140°F+ in a parked car will stress the material through 100+ expansion-contraction cycles per year. After 18 months, I’ve seen beads develop hairline cracks that catastrophically fail under load.”
The Strongest Case Against Polymer
Bronze develops a living patina. Every scratch and oxidation mark tells a story. For custom knife lanyards where character matters more than weight, bronze wins.
Titanium handles extreme conditions—saltwater, freezing cold, direct flame—without degradation. If you’re building EDC gear for actual survival scenarios where you can’t replace damaged components, titanium’s reliability justifies the cost.
The environmental factor: expedition gear faces temperature swings from -20°F to 120°F, UV exposure at altitude, and impacts from rock falls. In those scenarios, the 15-gram weight savings from polymer doesn’t offset the risk of failure.
“If you’re building polymer-bead projects for someone who won’t maintain them properly, add a maintenance tag with three rules: no heat, no chemicals, no sun. I’ve tested dozens of failures, and 80% trace back to users not understanding that polymer isn’t as forgiving as metal.”
Cost Analysis: Polymer vs Metal Beads
Budget polymer beads run $0.10-0.30 each in bulk. Mid-range printed beads cost $2-5 each. Custom 3D-printed designs hit $8-15 each.
For a 10-bracelet batch using three beads each, polymer costs $9-15 for budget options versus $90-240 for brass. The polymer advantage compounds when you factor in shipping—ten polymer beads ship for under $5 first-class mail due to minimal weight.
According to materials testing from the Outdoor Industry Association, proper storage extends polymer product lifespan by 3-5x compared to unprotected use. This makes polymer an economical choice for craft projects and everyday EDC accessories.